Bypassing the Installer: Manually Installing Ubuntu
Introduction
Sometimes you need a bit more flexibility when installing Linux (but not so much that you want to install Arch). For my personal stuff, I tend to use BTRFS on-top of LUKS, and just BTRFS on KVM guests. Both configurations aren't exactly widely supported by installers, but no matter, this is Linux...
So this is how I manually install Ubuntu/Debian when I need to. This can also be considered a good foundation for making custom Debian images.
For installations, I use the official installers, but switch to a console after booting (basically treating it like a live OS). I've also used rescue images, depending on the server provider (looking at you Hetzner...).
Installing
Pre-Checks
First I check for UEFI support on the machine - virtual or otherwise. I do that by checking if the UEFI was discovered by the kernel during boot:
ls /sys/firmware/efiIf a file exists, then UEFI is supported and should be used. This will change how the bootloader is installed.
Also, make sure all the needed tooling is installed:
apt-get install debootstrap arch-install-scriptsAnd yes, it's been pointed out to me the irony of using Arch install helpers to install Ubuntu the Arch way.
Prepare the Disk(s)
First, it's best to start clean - the following finds and removes the partition table on /dev/sda.
wipefs -a /dev/sdaThen moving on to partitioning, I use parted due to it's modern support of > 2TiB disks.
Of course, you can create three partitions instead to support both UEFI and BIOS boot. Since I don't typically move installs from machine to machine, I don't worry about introducing that complexity (read, I want to forget BIOS boot when I can, UEFI is a safe-space).
UEFI Boot
If running on a machine that supports UEFI, I use the following:
# Create the paritions.
parted --script --align optimal -- /dev/sda \
  mklabel gpt \
  mkpart primary 1MiB 128MiB \
  set 1 esp on \
  mkpart primary 128MiB 100% \
  print

# Format the first partition for UEFI (must be FAT).
mkfs.vfat -F 32 -n ESP /dev/sda1

# Format the remaining parition to accept the root filesystem (I use BTRFS).
mkfs.btrfs /dev/sda2
The first partition will be mounted to /boot/efi and will contain the first-stage bootloader.
BIOS Boot
On machines that don't support UEFI (older machines or KVM virtual machines, by default), the command changes:
parted --script --align optimal -- /dev/sda \
  mklabel gpt \
  mkpart primary 1MiB 128MiB \
  set 1 bios_grub on \
  mkpart primary 128MiB 100% \
  print

# Format the remaining parition to accept the root filesystem (I use BTRFS).
mkfs.btrfs /dev/sda2
Technically the first partition only needs a few MiB for it's first-stage bootloader, but storage is cheap. This partition will not have a filesystem, it's only used to reserve a little space for Grub (MBR boot is kind of crazy).
Prepare BTRFS Sub-Volumes
This is completely optional, but I like to create separate volumes when using BTRFS, for two reasons:
- Since BTRFS uses Copy-on-write (COW) - snapshots are a first-class citizen (read, awesome). Moving the root filesystem to a sub-volume makes booting from a snapshot easier/cleaner.
- Also since BTRFS uses COW, swap files are not a first-class citizen (read, special rules need to be followed).
mkdir /mnt/rootfs
mount /dev/sda2 /mnt/rootfs

# For the root filesystem.
btrfs subvolume create /mnt/rootfs/@

# For swap (isolated from the main volume to make snapshots easier, since swap files cannot be snapshotted).
btrfs subvolume create /mnt/rootfs/@swap

# Get ready for the next step.
umount /mnt/rootfs
The
@name for the root filesystem sub-volume is a common naming-convention, but it can really be named anything. Some automatic snapshotting programs need this to be@.
Mount the Root Filesystem
Now that this BTRFS volume has sub-volumes, everything can be mounted in the "final" configuration.
# Will be the root filesystem.
mount /dev/sda2 /mnt/rootfs -o 'subvol=@,noatime'

# Will house the swap file.
mkdir -p /mnt/rootfs/mnt/swap
mount /dev/sda2 /mnt/rootfs/mnt/swap -o 'subvol=@swap,noatime'

# If UEFI support is being installed.
mkdir -p /mnt/rootfs/boot/efi
mount /dev/sda1 ${ROOTFS}/boot/efi
I use
noatimeby default for BTRFS volumes (disables last file access times). This is another side-effect of using a COW filesystem - metadata modifications are heavier compared to more traditional journaling filesystems (e.g. EXT4, NTFS, etc.). The COW filesystem needs to "copy" the metadata "on write" instead of directly modifying the data.
Install the Base System
At this point, we can start installing stuff. Debian makes this easy with the debootstrap script:
debootstrap --arch=amd64 --variant=minbase jammy /mnt/rootfs http://archive.ubuntu.com/ubuntu/There's a couple of options here.
--arch=amd64hopefully obvious.--variant=minbasethis is a preset that installs "essential packages and apt". The system won't boot, but at least we can chroot in later.jammyis the suite for the mirrorhttp://archive.ubuntu.com/ubuntu/, which is wheredebootstrapwill pull packages from to create the base system. These should be whatever distribution is being installed.
Note that this may take a while. Has anyone noticed that mirrors are slow on Tuesdays - does everyone patch on Tuesdays?
To make things easier, I generate a basic fstab of the current system layout.
genfstab -t UUID /mnt/rootfs > /mnt/rootfs/etc/fstabThis will be modified later as genfstab, I just like my chroot to be as "authentic" as possible.
Chroot
After installing the base system, it's time to chroot!
To prepare for the chroot, we need to mount the host's kernel interfaces into the future chroot. I also mount /tmp to tmpfs to keep the disk clean (for creating images).
mount --bind /dev /mnt/rootfs/dev
mount -t devpts /dev/pts /mnt/rootfs/dev/pts
mount -t proc proc /mnt/rootfs/proc
mount -t sysfs sysfs /mnt/rootfs/sys
mount -t tmpfs tmpfs /mnt/rootfs/tmp
And finally we can chroot without stuff breaking:
chroot /mnt/rootfs bashInstall the Meta-Packages
At this point I can run standard commands to complete the installation in this chroot.
First I update the list of mirrors, debootstrap only adds one source:
cat >/etc/apt/sources.list <<EOL
deb http://us.archive.ubuntu.com/ubuntu jammy main restricted
deb http://us.archive.ubuntu.com/ubuntu jammy-updates main restricted

deb http://us.archive.ubuntu.com/ubuntu jammy universe
deb http://us.archive.ubuntu.com/ubuntu jammy-updates universe

deb http://us.archive.ubuntu.com/ubuntu jammy multiverse
deb http://us.archive.ubuntu.com/ubuntu jammy-updates multiverse
deb http://us.archive.ubuntu.com/ubuntu jammy-backports main restricted universe multiverse

deb http://us.archive.ubuntu.com/ubuntu jammy-security main restricted
deb http://us.archive.ubuntu.com/ubuntu jammy-security universe
deb http://us.archive.ubuntu.com/ubuntu jammy-security multiverse
EOL
Of course, use your local mirrors.
Then I use the the standard meta-packages to install a more complete OS.
# Use defaults for all questions.
export DEBIAN_FRONTEND=noninteractive

# Actually install Ubuntu.
apt-get update -y
apt-get install -y ubuntu-standard ubuntu-minimal ubuntu-server

# And just-in-case.
apt-get dist-upgrade -y
apt-get autoremove --purge -y
It's kind of hard to figure out what's in each of these meta-packages, this is my summary:
ubuntu-standard- rather standard stuff (hehe). Packages likecron,man-db,lsof, andrsync. It's a no-brainer to install.ubuntu-minimal- also super minimal. Packages likesudo,less, andmount. Most of these packages are installed by--variant=minbase, but it doesn't hurt to add the meta-package.ubuntu-server- now this one can be skipped if needed. It contains packages that make operator lives easier. Things likegnupg,htop,tmux, andbtrfs-progs. I install it because I'm learning to love myself.
There are other meta-packages - although, they aren't exactly documented succinctly. For server installations, I think these three meta-packages are a good foundation. If building a desktop, the desktop metapackages should be used.
Generate Locales
You might notice that apt had some warnings about missing locales. They can be add/enabled with the following (of course, substituting to your locale):
locale-gen en_US.UTF-8
update-locale LANG=en_US.UTF-8
locale-gen
If you didn't get any warnings, it's safe to run the commands anyway - making sure your locales are good, helps avoid issues with misbehaving terminals.
Set Time Zone
To set the time zone without SystemD's timedatectl working (since this is a chroot), a symlink can be used.
ln -sf /usr/share/zoneinfo/America/Chicago /etc/localtimeIn this example, my time zone is America/Chicago. A list can be found here.
Setup Swap
Again, since I use BTRFS, I make my swap on the sub-volume created. This is all documented on BTRFS's docs.
# Create an empty file.
truncate -s 0 /mnt/swap/swapfile

# Tell BTRFS to NOT apply COW on this file.
chattr +C /mnt/swap/swapfile

# Now that COW is disabled, create a continuous region for swap.
fallocate -l 2G /mnt/swap/swapfile

# And finalize.
chmod 0600 /mnt/swap/swapfile
mkswap /mnt/swap/swapfile

# Mounting now so that I can generate a fstab automatically.
swapon /mnt/swap/swapfile
Install the Kernel
This one is easy, install the kernel you want. I use HWE kernels, so I install linux-generic-hwe-*.
apt-get install -y linux-generic-hwe-22.04There's a couple options here (assuming Ubuntu):
linux-genericthe standard kernel, best for bare-metal installs.linux-virtuala kernel optimized for virtual installs (may not contain things like USB support).
And if installing in a public cloud, there's a few kernels optimized for those hypervisors, for example:
linux-ibmlinux-azurelinux-aws
The
linux-azurekernel can also be used for Hyper-V virtual machines.
Install Grub
# For UEFI
apt-get install -y grub-efi

# For BIOS
apt-get install -y grub-pc
Then I customize Grub defaults. This is optional, Grub's defaults are sane.
cat >/etc/default/grub <<EOL
# This file was overwritten during base-image building.
# Version: 1
#
# If you change this file, run 'update-grub' afterwards to update
# /boot/grub/grub.cfg

# Default option.
GRUB_DEFAULT=0

# Show GRUB when waiting.
GRUB_TIMEOUT_STYLE=menu
GRUB_DISTRIBUTOR=`lsb_release -i -s 2> /dev/null || echo Debian`

# Wait for 5 seconds.
GRUB_TIMEOUT=5

# Wait for 5 seconds (after a failed boot, however, this option is broken under btrfs, which likely causes it to always think a failure has occured).
GRUB_RECORDFAIL_TIMEOUT=5

# Options on "normal" boots.
GRUB_CMDLINE_LINUX_DEFAULT="noplymouth console=ttyS0,115200 console=tty0"

# Options for recovery boots.
GRUB_CMDLINE_LINUX=""

# Enable the serial console.
GRUB_TERMINAL="console serial"
GRUB_SERIAL_COMMAND="serial --speed=115200 --unit=0 --word=8 --parity=no --stop=1"

# Disable OS scanning.
GRUB_DISABLE_OS_PROBER=true
EOL
A couple of things to note:
noplymouthdisables the splash screen during boot. The kernel will fallback to outputting logs to the terminal. I don't get why vendors like adding splash screens...console=ttyS0,115200 console=tty0and friends, enables the serial console - useful for KVM VM's and for other headless deployments.GRUB_RECORDFAIL_TIMEOUT=5is used as Grub doesn't quite handle BTRFS correctly when detecting if the previous boot attempt was clean. This oddities causesGRUB_TIMEOUT=5to be ignored.
Then to finalize Grub's install (to actually install the bootloader), grub-install and update-grub can be used.
UEFI Boot
grub-install --target=x86_64-efi --efi-directory=/boot/efi --bootloader-id=ubuntu
update-grub--no-nvramcan be used prevent adding a new boot entry to your system (stored by the motherboard).--bootloader-idis the name of the NVRAM entry - the name doesn't matter, it's for us, humans.
BIOS Boot
grub-install --target=i386-pc /dev/sda
update-grub
Note that when installing Grub for BIOS boot, the command should target the disk, not a partition. Grub will write the first-stage bootloader before the first partition (and may overflow into the dummy partition that was created above).
If you target a partition, you might get a weird error about not having enough space. Ask me how I know...
Customize the Install
Remember to configure networking if this is all being done on a remote server...
At this point, a bootable install should exist, but I like to customize a few more things. This is also a good time to install your configuration manager, if you have one, e.g. SaltStack, etc.
# As the spashscreen is disabled, the packages that provide it can be removed.
apt-get purge -y plymouth plymouth-theme-ubuntu-text --autoremove
# Install some standard packages (some of these are provided by ubuntu-server/ubuntu-standard).
apt-get install -y \
iotop \
bmon \
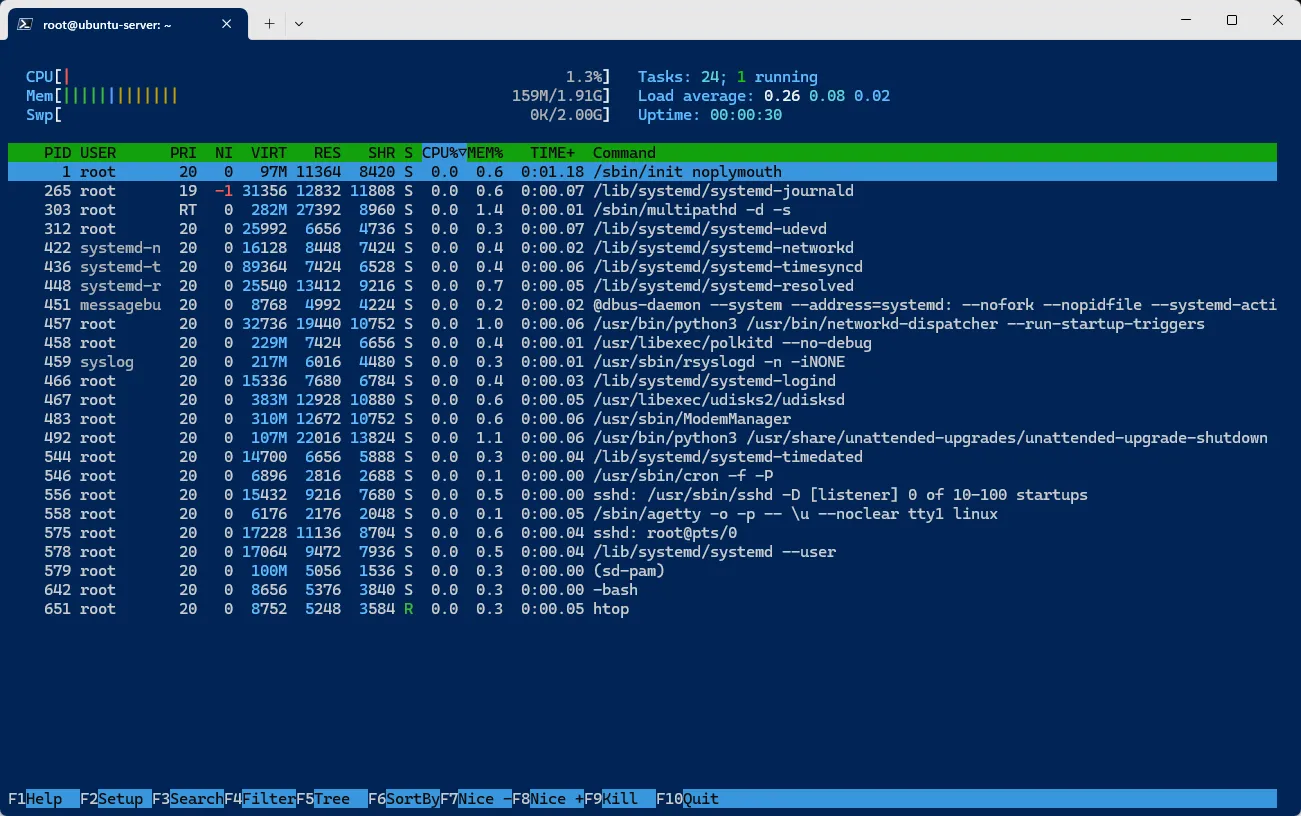
htop \
wget \
curl \
nmon \
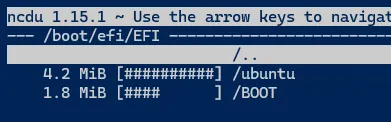
ncdu \
traceroute \
tmux \
git \
btrfs-progs \
openssh-server
# And stuff I add to KVM images.
apt-get install -y \
virt-what \
cloud-init \
qemu-guest-agent
# Clean-up anything remaining. Good for when making images.
apt-get autoremove --purge -y
apt-get -q clean -y && rm -rf /var/lib/apt/lists/* && rm -f /var/cache/apt/*.binSince this is Ubuntu, networking is configured with Netplan, for example to configure ens18:
cat >/etc/netplan/00-custom.yaml <<EOL
network:
  version: 2
  ethernets:
    ens18:
      dhcp4: true
      dhcp6: true
      critical: true
EOL
I know Netplan gets some hate, but it's been a joy to use, at least personally. I'm also a software engineer first, so YAML is second-nature. I like schema validation when writing configuration files!
It also might be a good idea to set a root password, depending on how this install is going to be used. If this is an image, it's best for the configuration manager or cloud-init to set these.
passwdOr better, add some SSH keys:
mkdir /root/.ssh
echo "<pub key>" > /root/.ssh/authorized_keys

# Set the correct permissions.
chmod 700 /root/.ssh
chmod 644 /root/.ssh/authorized_keys
Finalize the Install
Almost done, only a few more things to look at. Let's exit chroot:
# Exit the chroot.
exit
And it's time to update fstab to include the swap file:
genfstab -t UUID /mnt/rootfs > /mnt/rootfs/etc/fstabI also run a few "find-and-replace" commands to fix some of the verbosity of genfstab.
# Remove auto-detected flags.
sed -i 's/ssd,discard=async,//g' /mnt/rootfs/etc/fstab

# space_cache is the default now.
sed -i 's/space_cache=v2,//g' /mnt/rootfs/etc/fstab

# Remove using sub-volume ids, it should use name.
sed -i 's/subvolid=[0-9]\+,//g' /mnt/rootfs/etc/fstab

# Again, removing more defaults, this time for the UEFI partition, if used.
sed -i 's/relatime,fmask=0022,dmask=0022,codepage=437,iocharset=iso8859-1,shortname=mixed,//g' /mnt/rootfs/etc/fstab
And I like to check that everything looks correct:
cat /mnt/rootfs/etc/fstab# /etc/fstab: static file system information.
#
# Use 'blkid' to print the universally unique identifier for a
# device; this may be used with UUID= as a more robust way to name devices
# that works even if disks are added and removed. See fstab(5).
#
# <file system> <mount point> <type> <options> <dump> <pass>
# /dev/sda2
UUID=14fff416-d79a-4803-9d4b-932ac76dea75 / btrfs rw,noatime,subvol=/@ 0 0
# /dev/sda2
UUID=14fff416-d79a-4803-9d4b-932ac76dea75 /mnt/swap btrfs rw,noatime,subvol=/@swap 0 0
/mnt/swap/swapfile none swap defaults 0 0And it does, so rebooting time! (or saving and sysprep'ing for imaging)
swapoff /mnt/rootfs/mnt/swap/swapfile

umount /mnt/rootfs/dev/pts
umount /mnt/rootfs/dev
umount /mnt/rootfs/proc
umount /mnt/rootfs/sys
umount /mnt/rootfs/tmp
umount /mnt/rootfs/boot/efi
umount /mnt/rootfs/mnt/swap
umount /mnt/rootfs

reboot
And done! A nice clean, and fully custom installation.
Postfix
Preparing for Imaging
When building QEMU images for deployment, SysPrep should be used to at least:
- Force the server to generate SSH server keys on next boot.
- Reset any machine ids (which controls "first boot" detection, e.g. if using cloud-init).
I use the following:
# Run a normal sysprep.
virt-sysprep --add $IMAGE --hostname default-hostname

# And run sysprep again with only the machine-id module enabled.
# There might be a bug in sysprep around this, preventing the machine-id from being reset.
virt-sysprep --add $IMAGE --enable machine-id
And to make the image smaller:
# Sparsify
virt-sparsify --in-place $IMAGE

# Compress
qemu-img convert -c -O qcow2 $IMAGE $IMAGE.compressed
rm $IMAGE && mv $IMAGE.compressed $IMAGE
Sources
- Install Debian with Debootstrap + Grub EFI · GitHub
- chroot - ArchWiki
- Lot's of man pages.